iAttend
Manual for iAttend application. https://iattend.iium.edu.my
Staff
Create new Attendance
A video guide on the step of creating new Attendance for Staff.
1. To create new attendance, just go to Attendance (top menu) and click Create New Attendance.
2. Fill up the form
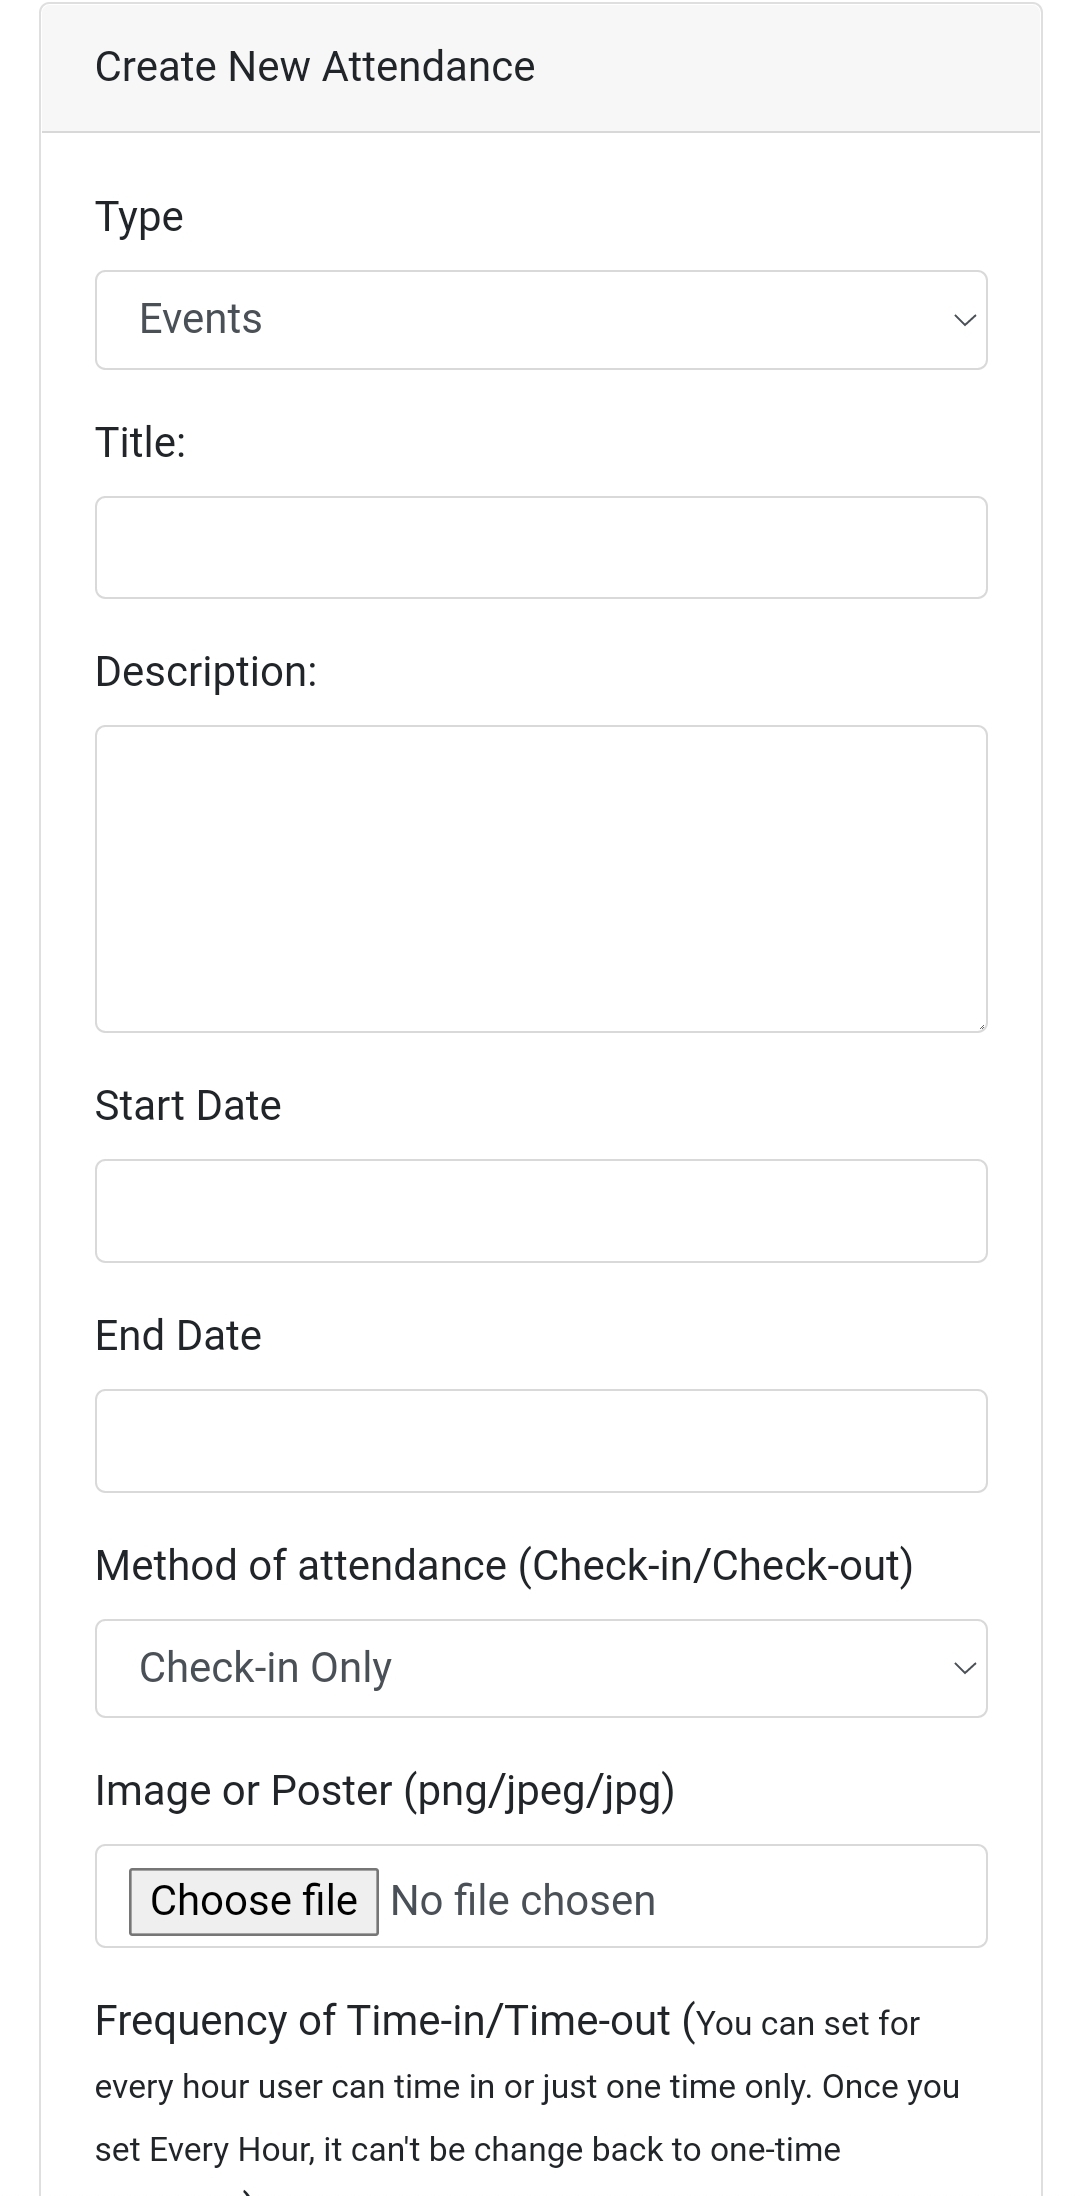
3. Reference:
- Method of attendance:
- Check-in Only : Choose this if you just need to have time in only without time out.
- Check-in and Check-Out : Choose this if you need both time in and time out.
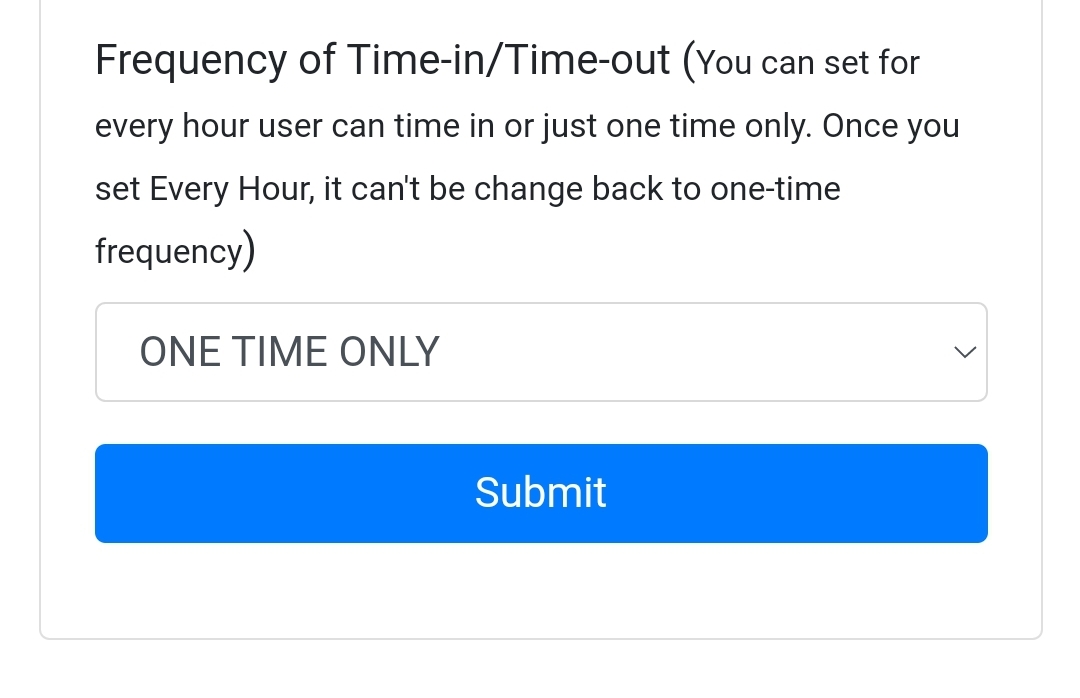
- Frequency:
- One Time : Only capture one time attendance
- Hourly: Allow capture multiple time of time-in/time-out after one hour.
4. Once you done click submit.
Download Attendances record
1. To download the attendance record go to Attendance and click My Attendance List
2. Click on your created attendance from the list.
3. Click Download CSV button to download the attendance list.

Students
Time in or Time Out
1. To time in, scan QR Code provided by the organizer or your lecturer.
2. Login by clicking Login using IIUM ID button and enter your Matric No. and your password. If you forgot your password, please reset it here: https://apex.iium.edu.my/cpwd/self_reset_stu_pwd.php
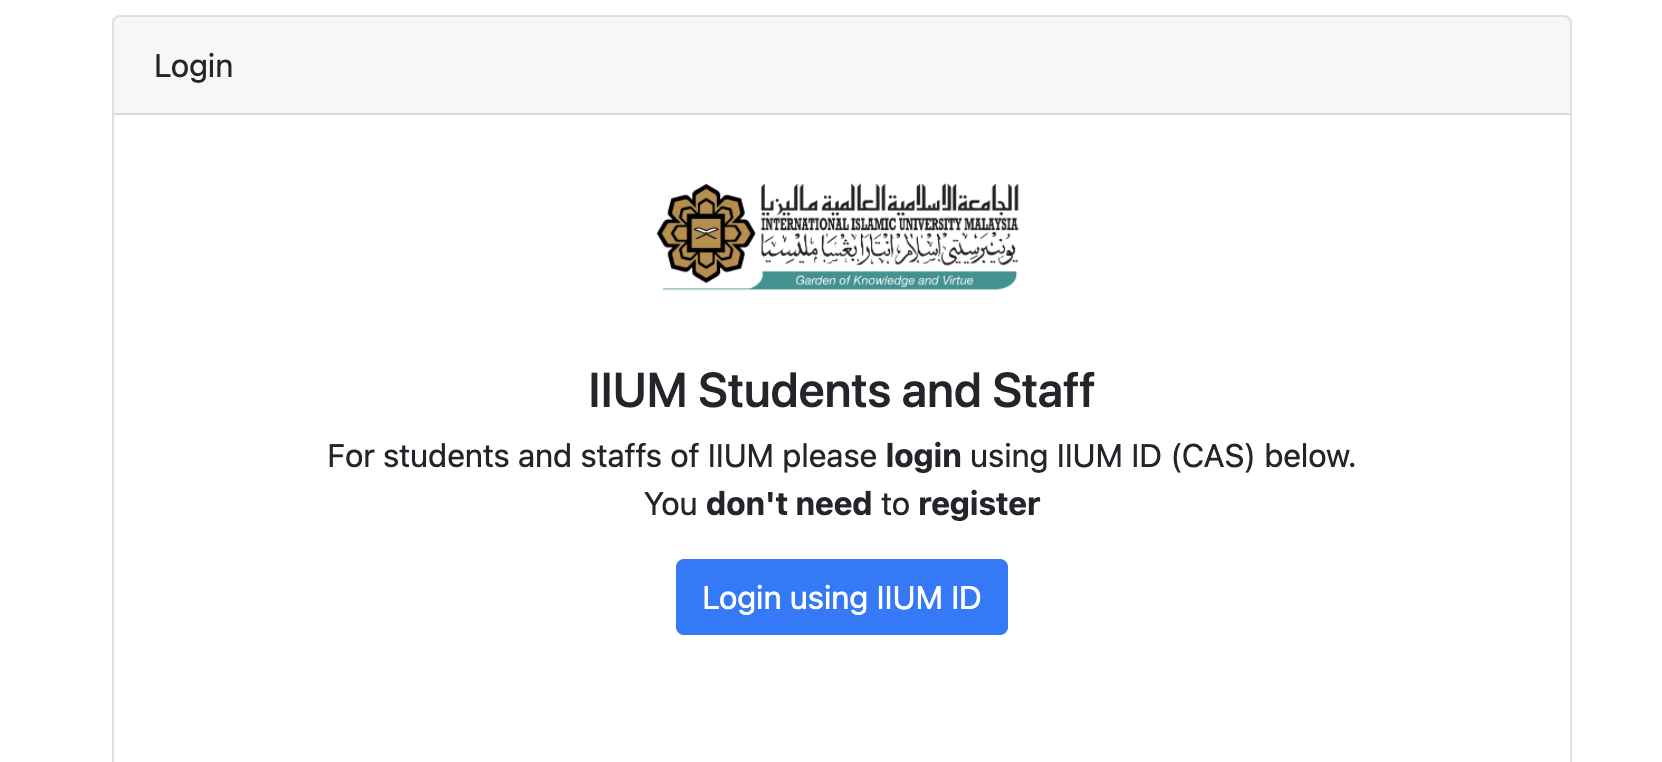
3. Once you login, you will see the page of attendance. Click Time In button as below.

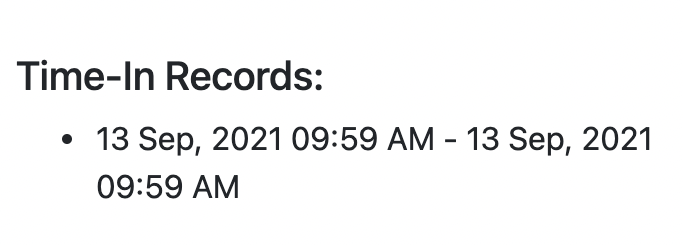
4. After you click Time-in button, it will show the record of your time. See image below for example:
Public
Registration & Activation
Check out the video created by Record2U Studio.
1. To register click register menu and fill up the forms

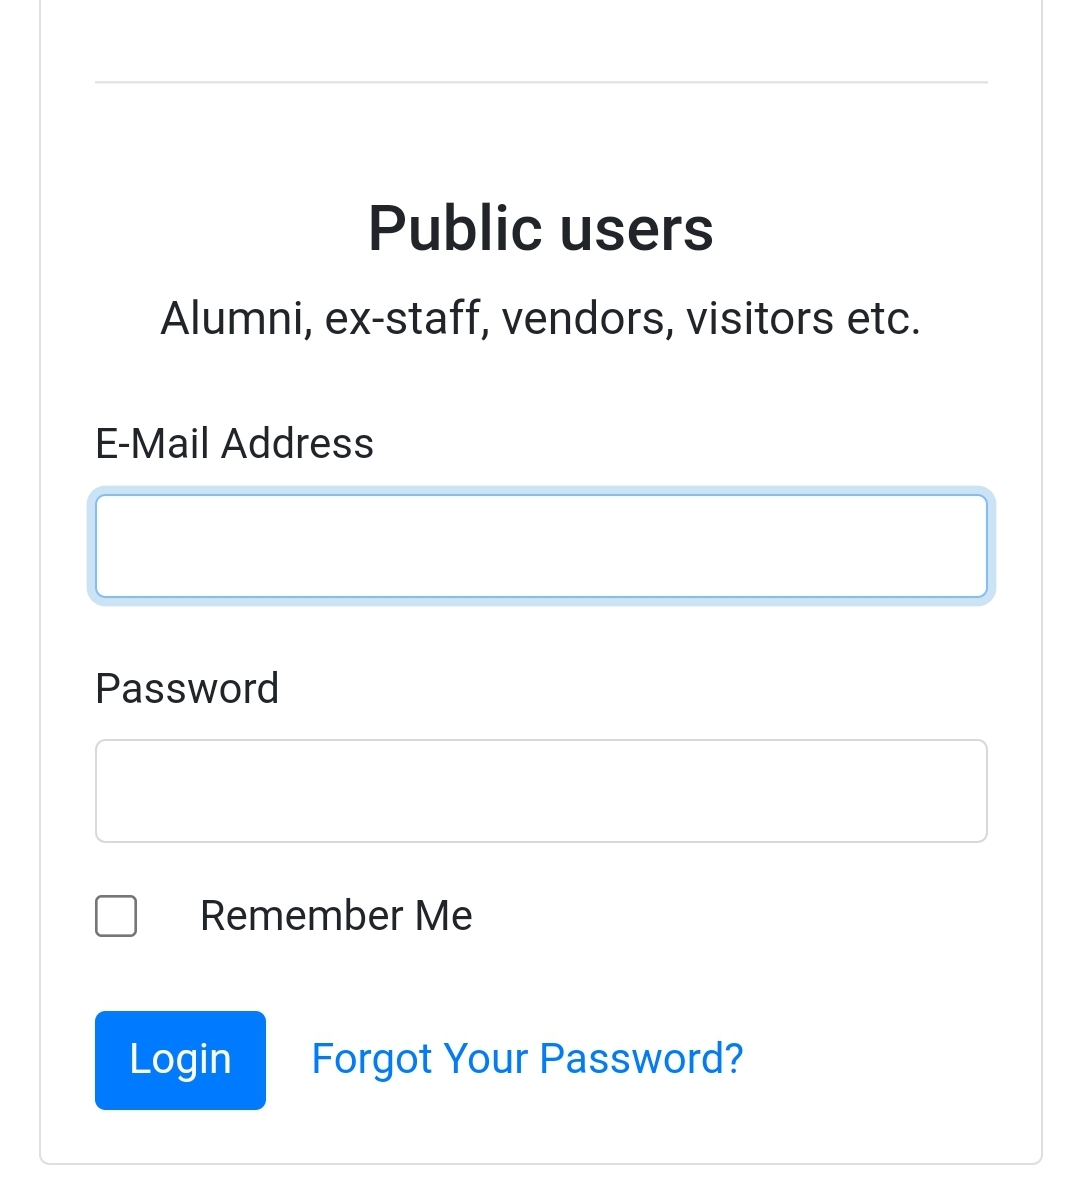
2. Once you register, you will be able to login using the form below:
3. For public user, phone number activation is required. Enter your phone number in pop up form. Then it will send SMS verification like below.
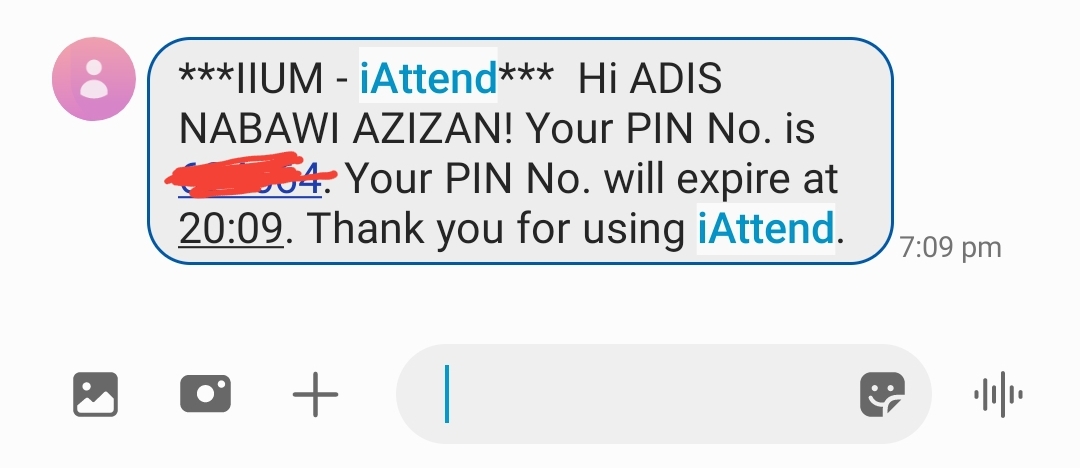
4. Enter the PIN No. and you are now able to use iAttend to time in /out your attendances.
Time in or Time Out
1. To time in scan QR Code provided by the organizer and click Time In button as below
2. It will show the record of your time. See image below for example:
500 Error
These are the manual guide if the student gets an error after login in to i-attend.
We advise the student to activate and reset both IIUM live email and i-Ma'luum account.
Activate/Reset IIUM Live Email
1. Go to i-Ma'luum <click here>
2. On the landing page, click Microsoft Live Account - Self Registration

3. Fill in the form and go through the process.
* If the account is already registered, the student will view "Your Office365 account has already been provisioned!
If you have forgotten your password, please reset it here." go to step number 4 to reset.

4. Fill in the form and go through the process.

5. Remember to save your password.
Reset i-Ma'luum password
The purpose is to synchronize your account and Live IIUM email updated.
1. Go to i-Ma'luum <click here>
2. On the landing page, click Forgot Password

3. Fill in the form and go through the process.

4. Remember to save your password.
Anything regarding resetting the account, the student can refer to ICT Services Help Desk Whatsapp Hotline +6016 9832415
After the student does the above steps, kindly go to your i-attend.
MyDigital ID
You may now log in to i-Attend using MyDigital ID as an alternative authentication method to the existing login options.
Login Guide: Using a Web Browser
1. Visit the i-Attend portal at https://iattend.iium.edu.my.
2. Click the Login button located at the top-right corner of the page.

3. On the login page, click on Login with MyDigital ID button.

4. You will be redirected to the MyDigital ID authentication page. A QR code will be displayed. Please scan the QR code using the MyDigital ID mobile application.

5. Once authentication is successful, you will be redirected back to i-Attend and prompted to select your login type as below.

6. Choose the appropriate login type: Staff, Student or Public, based on your role.
- If you select Staff, your attendance will be recorded under the staff category.
- If you select Student, your attendance will be recorded under the student category.
- If you select Public, this option is intended for Alumni and External Users.
If you are both a Staff and a Student, please select the login type that matches the nature of the event:
-
- If the event is intended for staff, choose Staff.
- If the event is intended for students, choose Student.
This help ensure that your attendance is recorded correctly and prevents errors in the attendance records.
If you are unsure which category applies to you, please contact the event organizer or system administrator before proceeding.
⚠️Important:
Please ensure that you select the correct login type. If you choose Staff or Student but your record does not exist in the corresponding database, an error message will be displayed indicating that no matching record was found as below.

7. Once the login type is verified, you will be successfully logged into the system.
Login Guide: Using a Mobile Phone
1. Visit the i-Attend portal at https://iattend.iium.edu.my.
2. Click the Get Started button located at the center of the page.

3. On the login page, click the Login with MyDigital ID button.

4. You will be redirected to the MyDigital ID authentication page. Click YA or PAPARAN KOD QR.

5. Tap Open to launch the MyDigital ID mobile application on your phone.

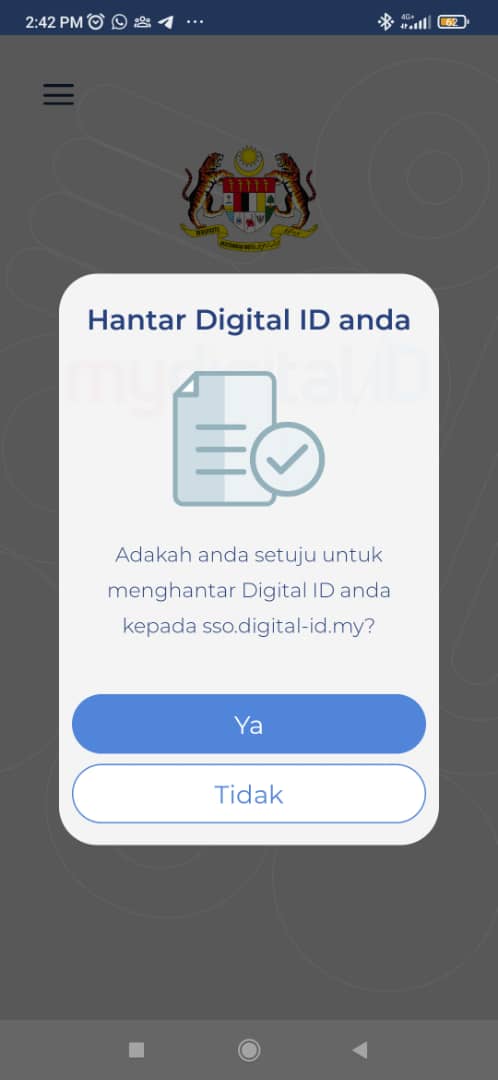
6. You will be redirected to the MyDigital ID application. Click Ya.
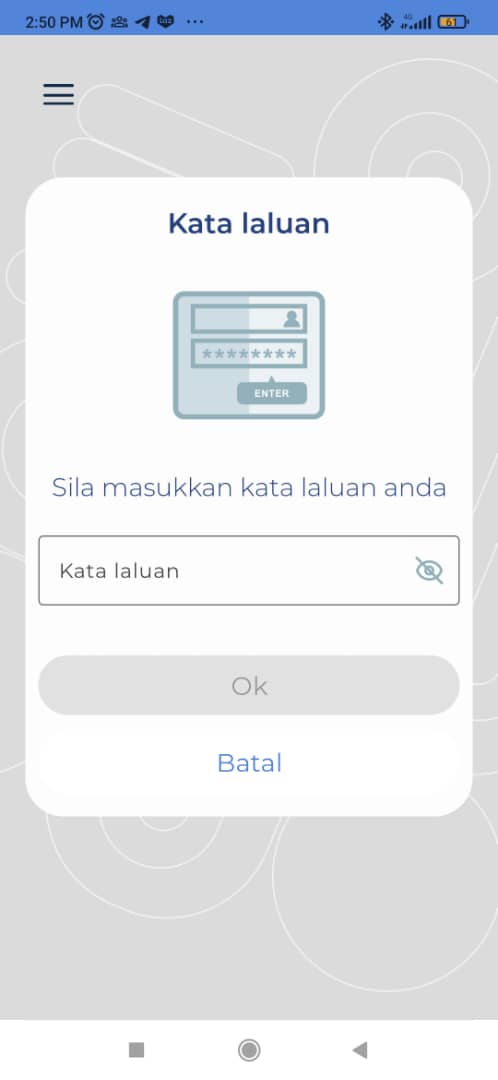
7. Enter the MyDigital ID password you created earlier and tap OK.
8. After a successful login, tap OK and return to your previous browser session.
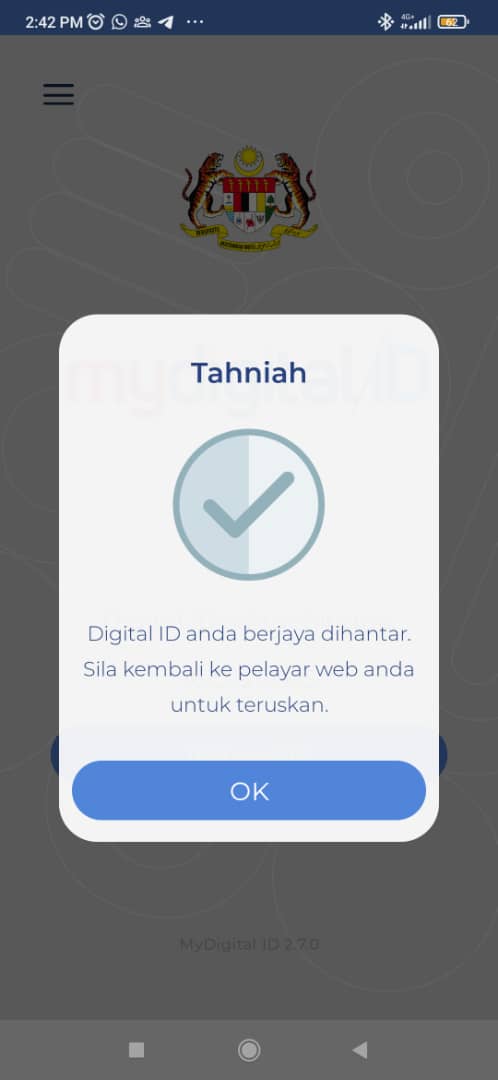
9. Once authentication is complete, you will be redirected back to i-Attend and prompted to select your login type.

10. Choose the appropriate login type: Staff, Student or Public, based on your role.
- If you select Staff, your attendance will be recorded under the staff category.
- If you select Student, your attendance will be recorded under the student category.
- If you select Public, this option is intended for Alumni and External Users.
If you are both a Staff and a Student, please select the login type that matches the nature of the event:
-
- If the event is intended for staff, choose Staff.
- If the event is intended for students, choose Student.
This helps ensure that your attendance is recorded correctly and prevents errors in the attendance records.
If you are unsure which category applies to you, please contact the event organizer or system administrator before proceeding.
⚠️Important:
Please ensure that you select the correct login type. If you choose Staff or Student but your record does not exist in the corresponding database, an error message will be displayed indicating that no matching record was found.
11. Once the login type is verified, you will be successfully logged into the system.